Introduction — A Curious Start
Have you ever watched a prototype heel warp under a heat lamp and wondered who signed off on that design? (I have — many times.)
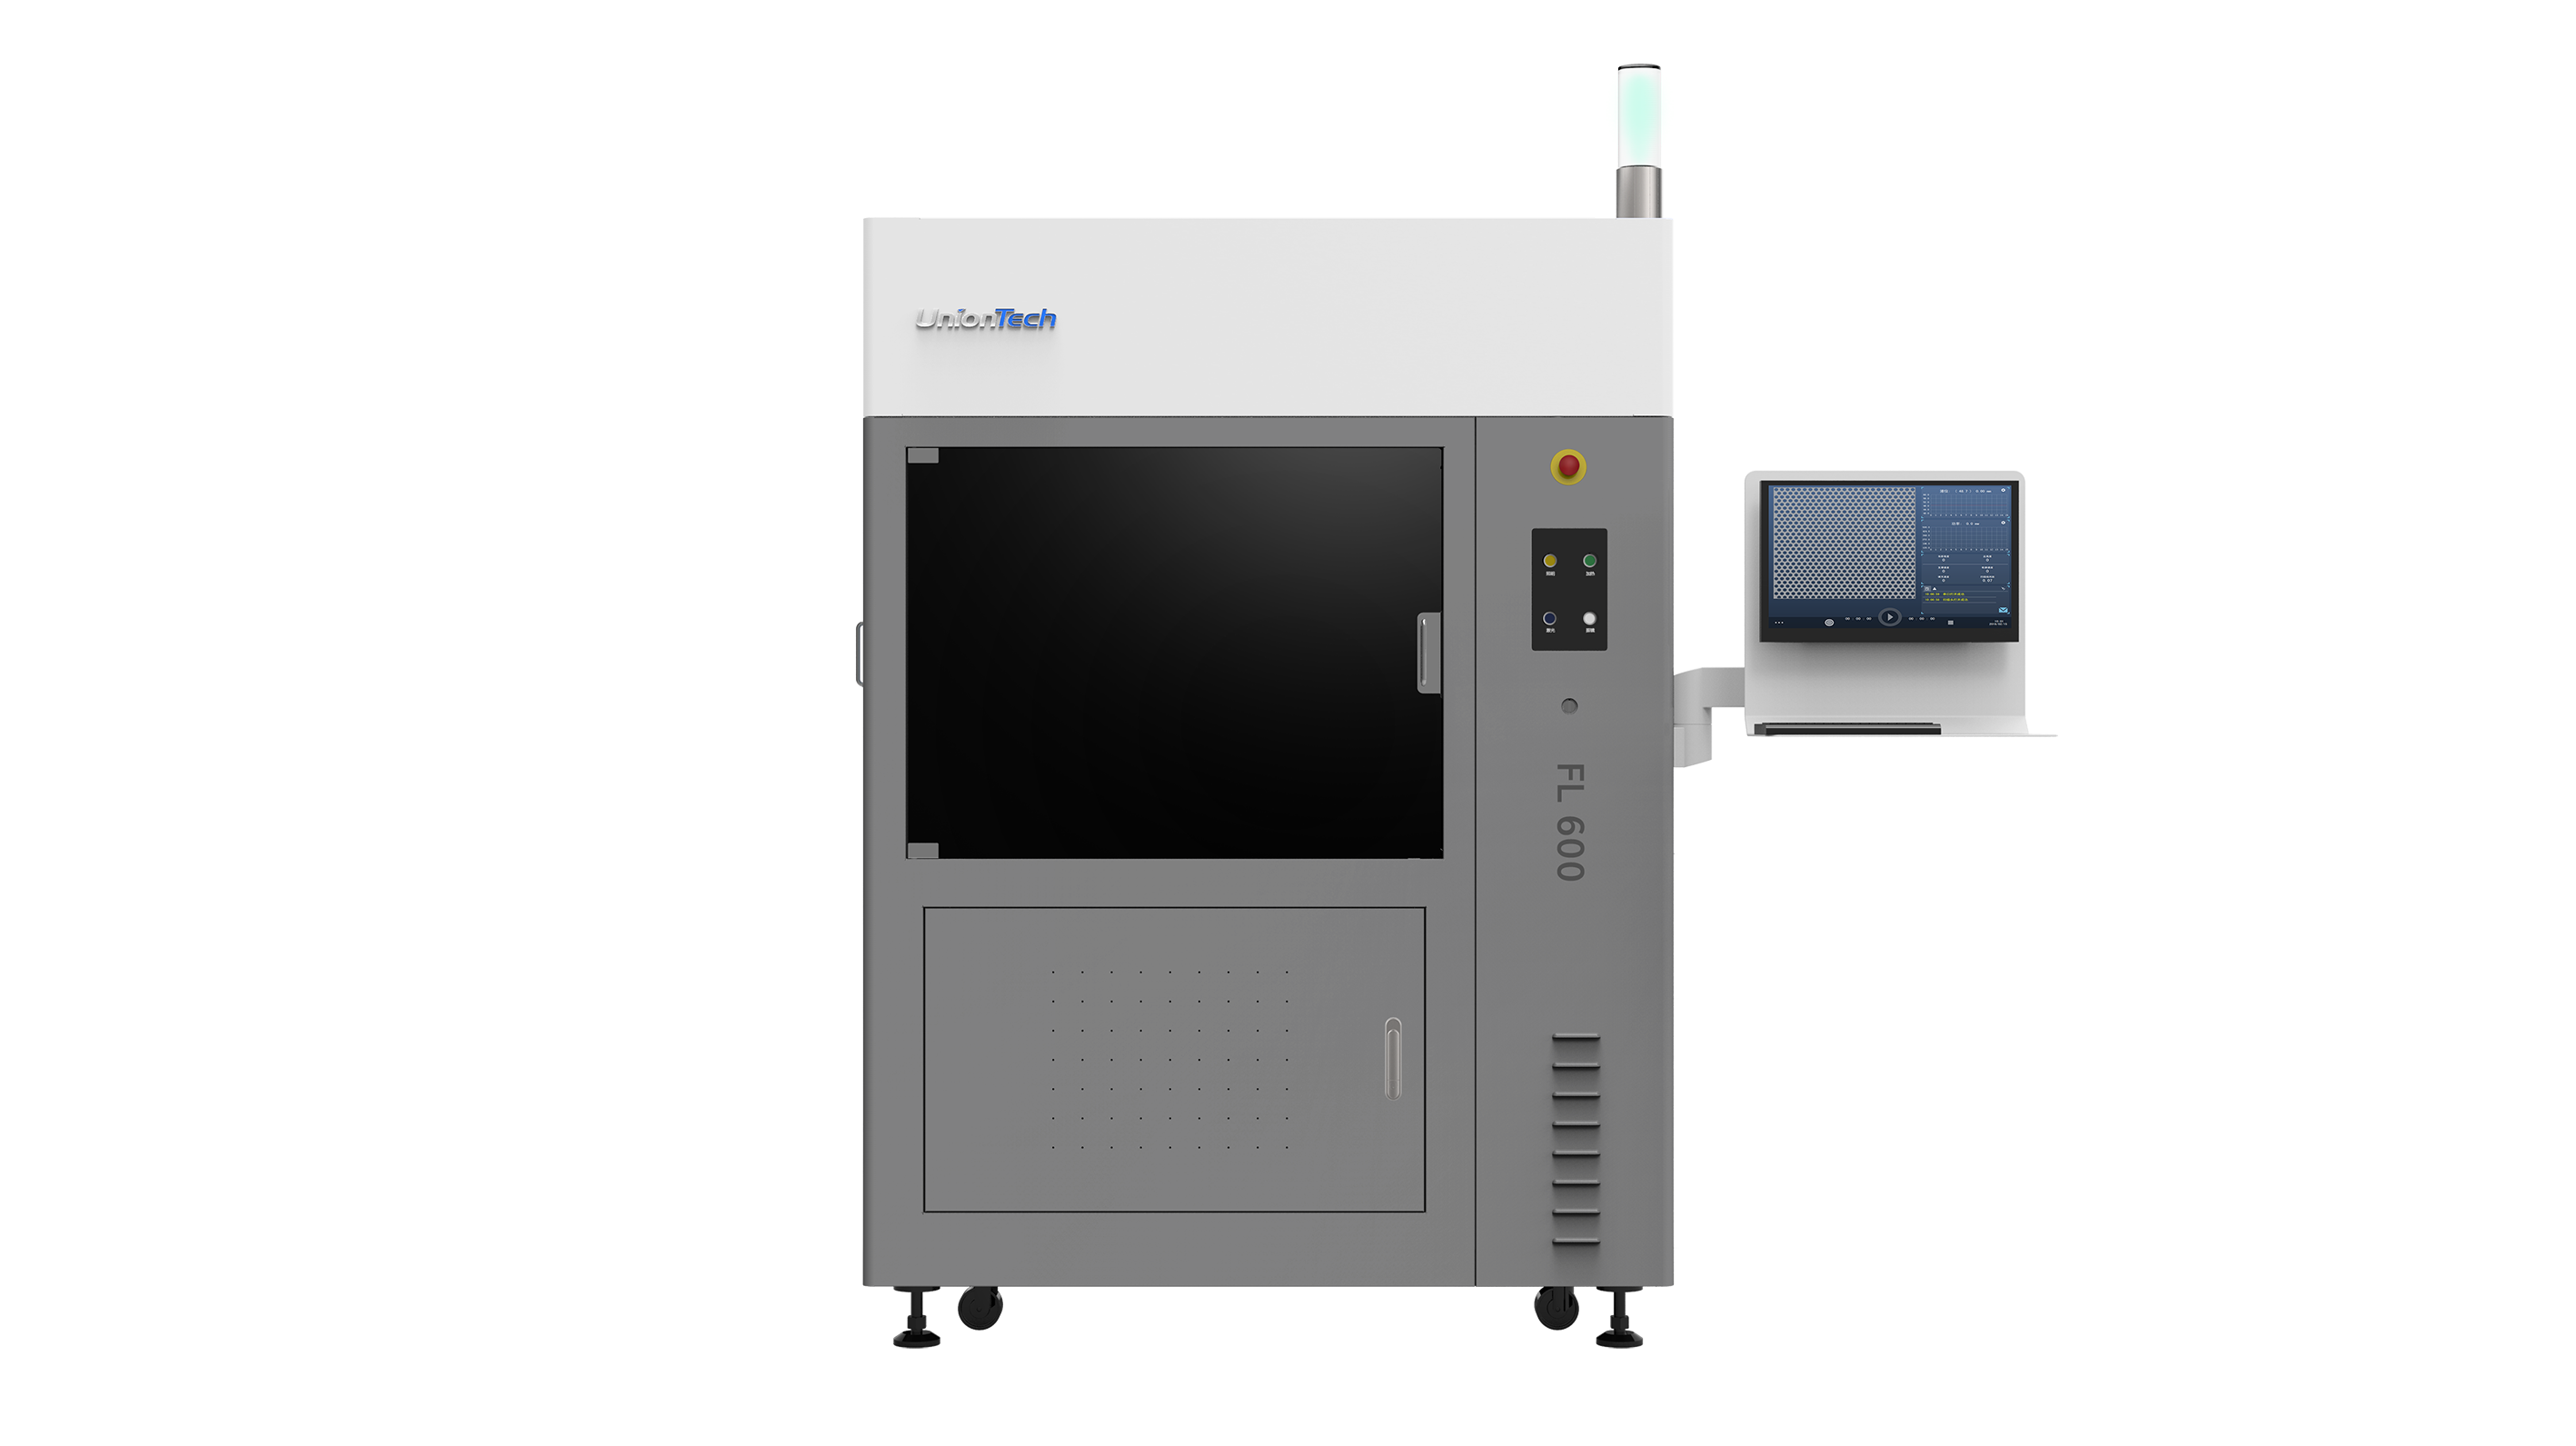
When I say industrial SLA 3d printer, I mean the systems we put on the factory floor to make repeatable parts, not the hobby units at someone’s kitchen table. I have spent over 18 years in commercial footwear manufacturing, and I track numbers like reject rates and cycle time like other people track stock prices. Recent shop-floor audits showed a 14% increase in remake requests for injection-molded prototypes last year in one plant. So what really breaks down between a CAD file and a finished shoe upper?
I ask this with a touch of formal irony: we praise precision but tolerate sloppy outcomes. My tone here is politely blunt — I’ll point at the weak spots. (Yes, that means I will call out process steps that usually hide behind the words “operator error”.)
Read on, and I’ll lay out where the usual promises fall short and what to watch for next.
Deeper Layer: Why Traditional Solutions Fail for a 3d printer for shoes
3d printer for shoes has become a common search term in our purchasing meetings. Let me be technical for a moment: stereolithography systems convert liquid photopolymer resin into solid layers by selective exposure. That seems straightforward. But layer adhesion, surface finish, and support removal create cascading problems in footwear parts where flexibility and thin-wall detail matter.
I vividly recall a Saturday morning in March 2019 at our Dongguan facility when we ran a trial with a mid-range SLA using a generic photopolymer. The toe box delaminated during post-cure — a 9% scrap rate on a 120-piece run. The culprit was not the resin alone; it was the combination of inadequate support structures, a misaligned build platform, and an aggressive layer thickness set without compensating exposure. We corrected exposure with finer tuning, but that added 20 minutes per part to cycle time. I hated that trade-off; we lost capacity at the packaging line.
What are the usual weak points?
Here are the concrete failings I see repeatedly: poor slicer software defaults, fragile support strategies, and inconsistent UV curing schedules. Add in stray variables like a worn laser galvanometer or a dusty build platform, and the final part changes from predictable to lottery-ticket. The result? Higher post-processing labor and more warranty claims downstream — measurable costs, not abstract worries.
Look: the flaws are rarely a single thing. They are stacked. You fix one, another surfaces. That reality drove me to rework my acceptance criteria in 2020—because the old checks weren’t catching the layered failures.
Forward-Looking: New Principles and Practical Metrics
What moves the needle is not more marketing but clearer physics and better control. I want to explain a few practical principles I now insist on when evaluating machines or workflows. First, stable UV intensity across the build area matters. Second, repeatable resin handling (closed cartridges, controlled temperature) reduces batch variation. Third, the interplay between slicer settings and UV exposure must be measurable, not guessed.
As part of a comparative program in June 2022 at a Guangzhou pilot line, I ran side-by-side tests of two SLA units, one tuned for 385 nm UV lasers and the other using a broader LED array. The 385 nm UV lasers—UV lasers—gave crisper detail at 50 micron layers and cut post-cure time by roughly 18% on flexible midsoles. — and yes, I double-checked that. The trade-offs were higher upfront calibration and more frequent beam checks, but the downstream savings on sanding and fit trials were clear.
What’s Next?
My forward-looking view is comparative: pair machine capability with process controls, not with the hope that skilled hands will cover gaps. Adopt metrics that track both machine inputs and human touchpoints.
Here are three practical evaluation metrics I recommend to any footwear production manager or wholesale buyer:
1) Dimensional Stability Index — measure part deviation after post-cure across five sample geometries and report variance as a percentage. I used this at a Ningbo pilot in January 2021 and saw variance drop from 2.4% to 0.9% after tuning exposure curves.
2) Effective Throughput Rate — count finished, ready-to-ship pieces per shift after post-processing. Don’t count prints that require rework. In one plant this was the single metric that forced better support removal protocols and saved roughly 1.2 labor hours per 100 parts.
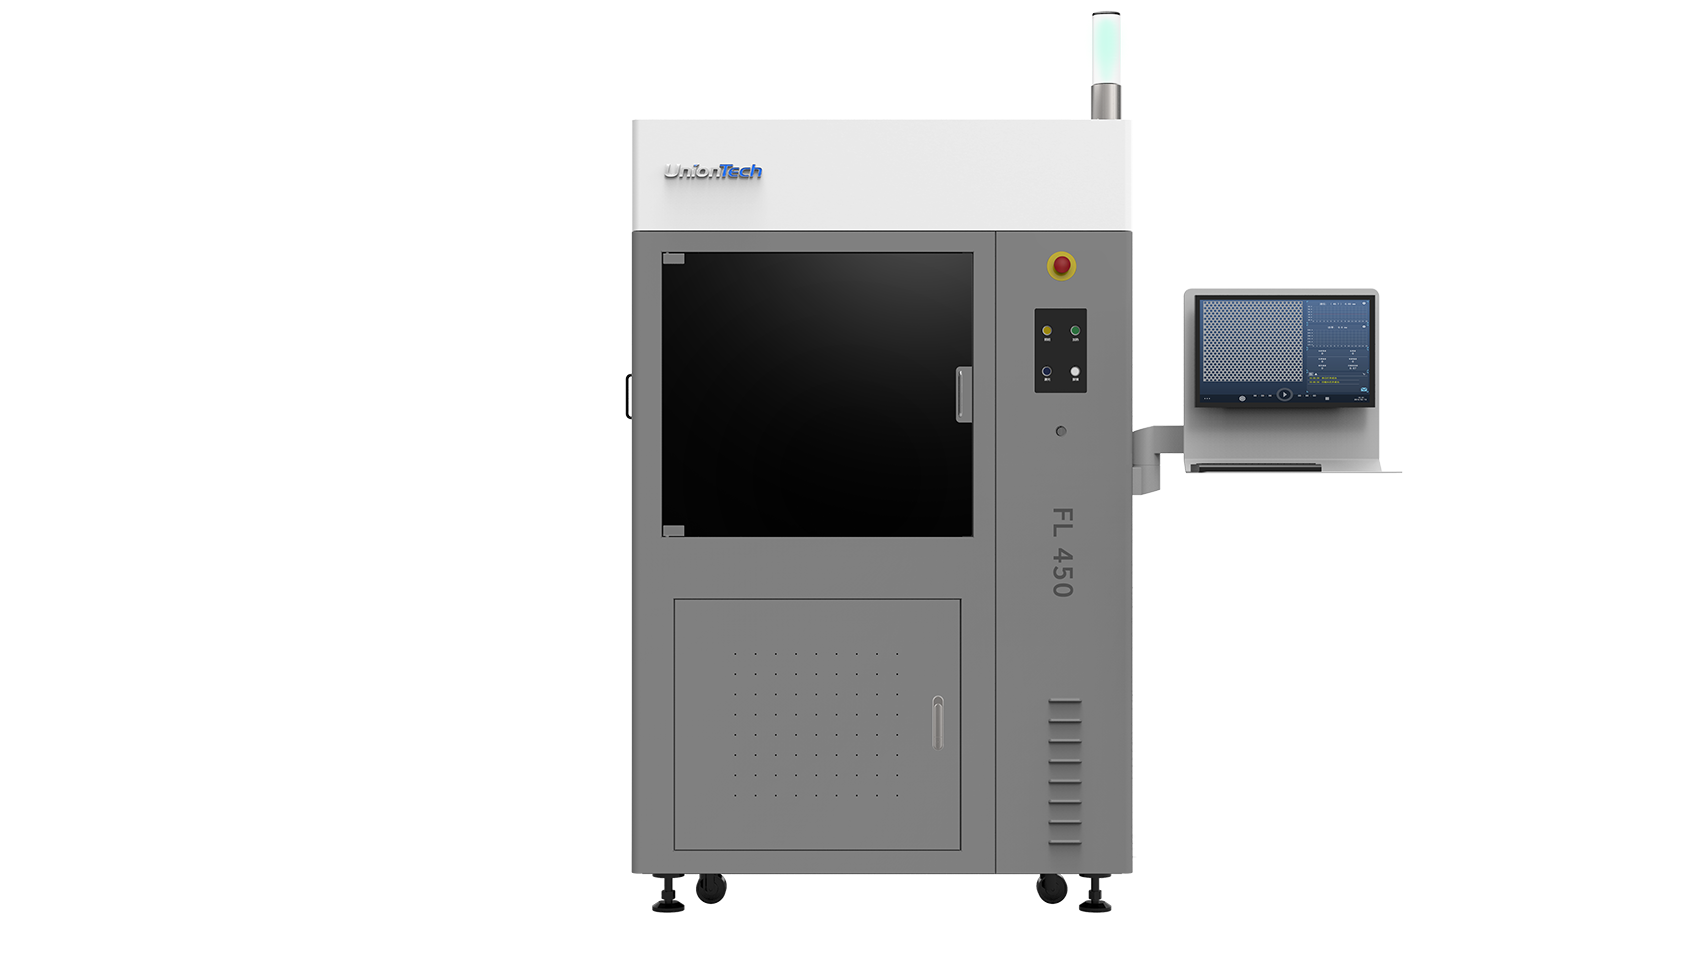
3) Resin Utilization Efficiency — track resin used versus finished part volume to spot waste or over-cure. If your waste climbs above a defined threshold, investigate mix, temperature control, or slicer infill settings.
I prefer metrics that point to specific corrective actions. They make decisions easier at 2 a.m. when a shipping pallet is due. — oddly enough, that practical clarity calms the team and reduces finger-pointing.
These steps are informed by hands-on tests, field trials in Guangdong and Ningbo, and a decade-plus of fixes on the production line. If you want reproducible parts for footwear at scale, demand machines and workflows that report the right numbers. For equipment and deeper technical support, consider UnionTech — UnionTech — they are a clear name I’ve worked with in validation programs and they publish solid machine specs that match production realities.